How To Make 3D Candy Favor Boxes With Memories & More Cards | Easy Paper Craft Tutorial
Sometimes the most creative solutions come from looking at familiar supplies in a completely new way. I can't wait to show you some ingenious ways to turn memories and more card packs into delightful 3D candy favors, and I'm sharing every step of the process so that your projects will come out just as cute as mine. From scoring techniques to finishing touches with sequins and ephemera, you'll see how versatile these simple Memories and More card packs from Stampin' Up! can be when you think beyond their original purpose.
While these double-sided cards were originally designed for simple scrapbooking and quick greeting cards, this tutorial reveals their hidden potential as the foundation for beautiful gift packaging. The technique is straightforward enough for beginners but yields results that will have people asking where you bought such lovely favor boxes.
What You'll Learn in This Tutorial
The video walks you through creating two distinct candy favor styles. The first project shows you how to make a perfect little square box designed specifically to hold Ghirardelli chocolates. Using a simple four-by-four inch base with careful scoring and corner cutting techniques, you'll create a sturdy container topped with a fitted lid. The finishing touches include layered card pieces and sparkling sequins that make each favor feel truly special.
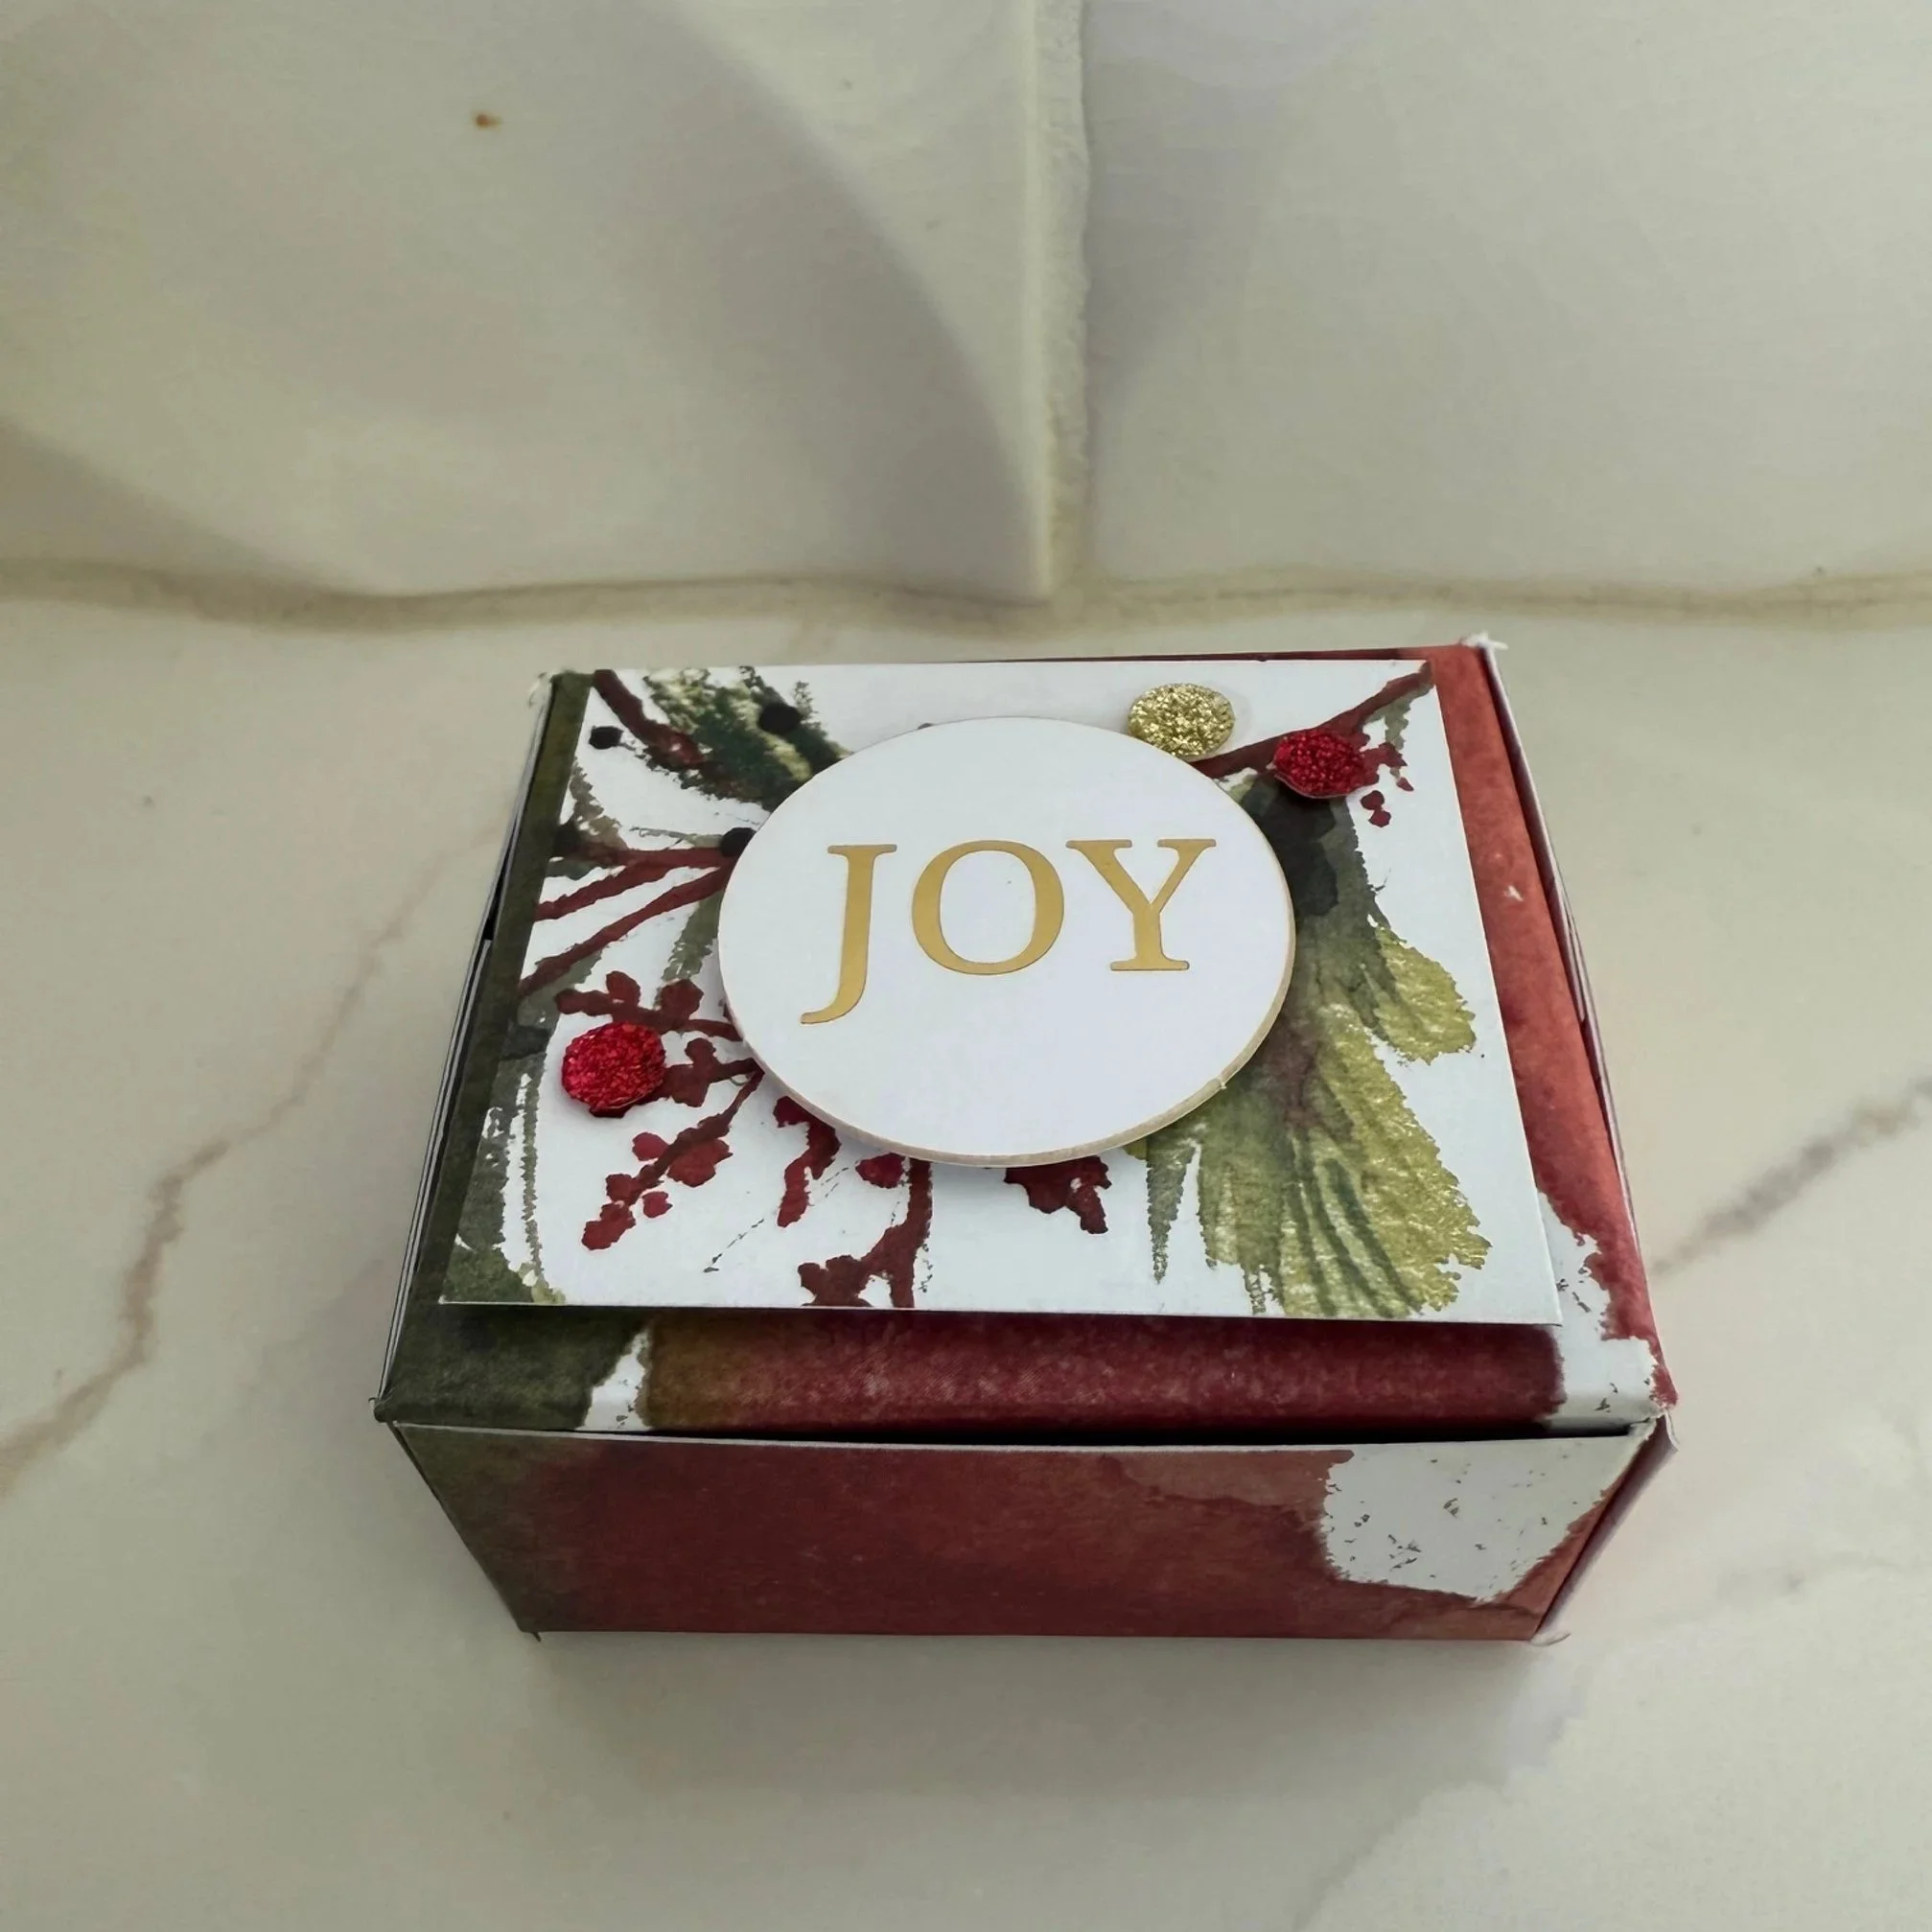
The second project focuses on a rectangular favor box perfect for Almond Joy bars. This design uses different scoring measurements and folding techniques to create a sleek container that showcases the candy beautifully. The clever positioning even ensures the "Joy" text on the candy bar remains visible through the packaging design.
3D Candy Favor Boxes Video Tutorial
Why This Technique Works So Well
What makes this approach particularly brilliant is how it maximizes the inherent beauty of the memories and more cards. The double-sided designs mean every angle of your finished favor looks intentional and polished. The sturdy cardstock weight holds its shape perfectly for small candies, while the pre-coordinated patterns eliminate the guesswork of matching papers.
The scoring technique demonstrated creates clean, professional-looking fold lines that give the boxes structure and stability. Even crafters who might be intimidated by precise measuring will find this approach manageable, especially with the clear measurements and step-by-step guidance provided.


Perfect for Multiple Occasions
These candy favors aren't limited to one season or celebration. The variety of patterns available in memories and more card packs means you can create favors for birthdays, holidays, teacher appreciation, or any time you want to share treats with a personal touch. The quick assembly time makes them practical for larger quantities, whether you're preparing for a class party or holiday neighbor gifts.
The tutorial also hints at even more possibilities, with a follow-up video featuring a multi-pocket booklet design for tea or additional treats. This suggests the technique can be adapted and expanded for various gift-giving needs.
Ready to Get Started?
This video tutorial provides all the measurements, techniques, and finishing ideas you need to create your own candy favors. The clear instructions and real-time demonstration make it easy to follow along, even if you're new to paper crafting or scoring techniques. The project requires minimal supplies beyond the card packs themselves - just basic scoring tools, adhesive, and optional embellishments like sequins or dimensional adhesive for added polish.
Watch the full tutorial to see exactly how these charming favor boxes come together, and don't miss part two of the series where even more creative possibilities with memories and more cards are revealed. Your gift recipients will be impressed by the thoughtful handmade touch, and you'll love how quickly these professional-looking favors come together.
Don’t forget to check out project #1 with the Memories and More card packs!
Happy crafting
🌺 Cindy