How You Can Get Creative With The Panda Friends Kit
Wouldn’t you love to have some Panda Friends alternate craft projects to make so you can go beyond the basics?! The Stampin’ Up! The Panda Friends kit has so much potential, and even more so when you add a few extra cardstock colors and some adorable treat boxes!
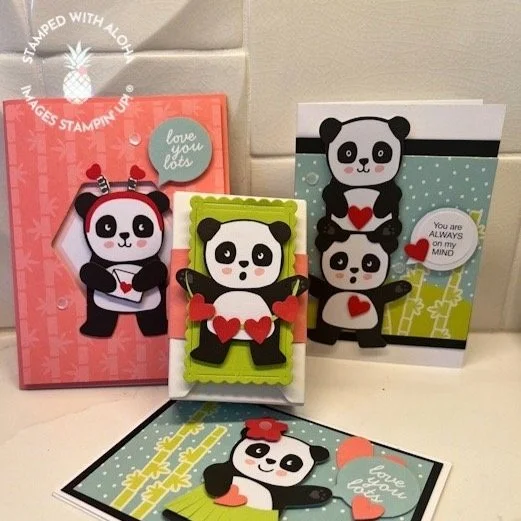
Let me show you the 4 cards I made, along with coordinating treat boxes that were perfect for the cookies and card class that I held.
Over the weekend, I hosted a delightful class showcasing creative ways to use the adorable panda-themed kit.
Guests who purchased this kit through me received the kit plus the extra items needed to make some super fun and adorable alternative craft projects. Curious to see what we made and consider making these yourself?
If you want to make the cards you see here and didn’t purchase the class from me here are the additional supplies you will need:
Basic White Note Cards & Envelopes
Cardstock Colors: Poppy Parade, Parakeet Party, Pool Party, Flirty Flamingo, Basic Black
Craft Punches: Bee Builder Punch, Heartfelt Hexagon Punch, Petal Park Builder Punch, Circle Punch 1-3/4”
Dies: Scallped Contours Dies
**Note: All belly bands for the boxes are strips of cardstock cut at 1-1/2” X 7-1/2”.
How You Can Get Creative With The Panda Friends Kit | Video Tutorial
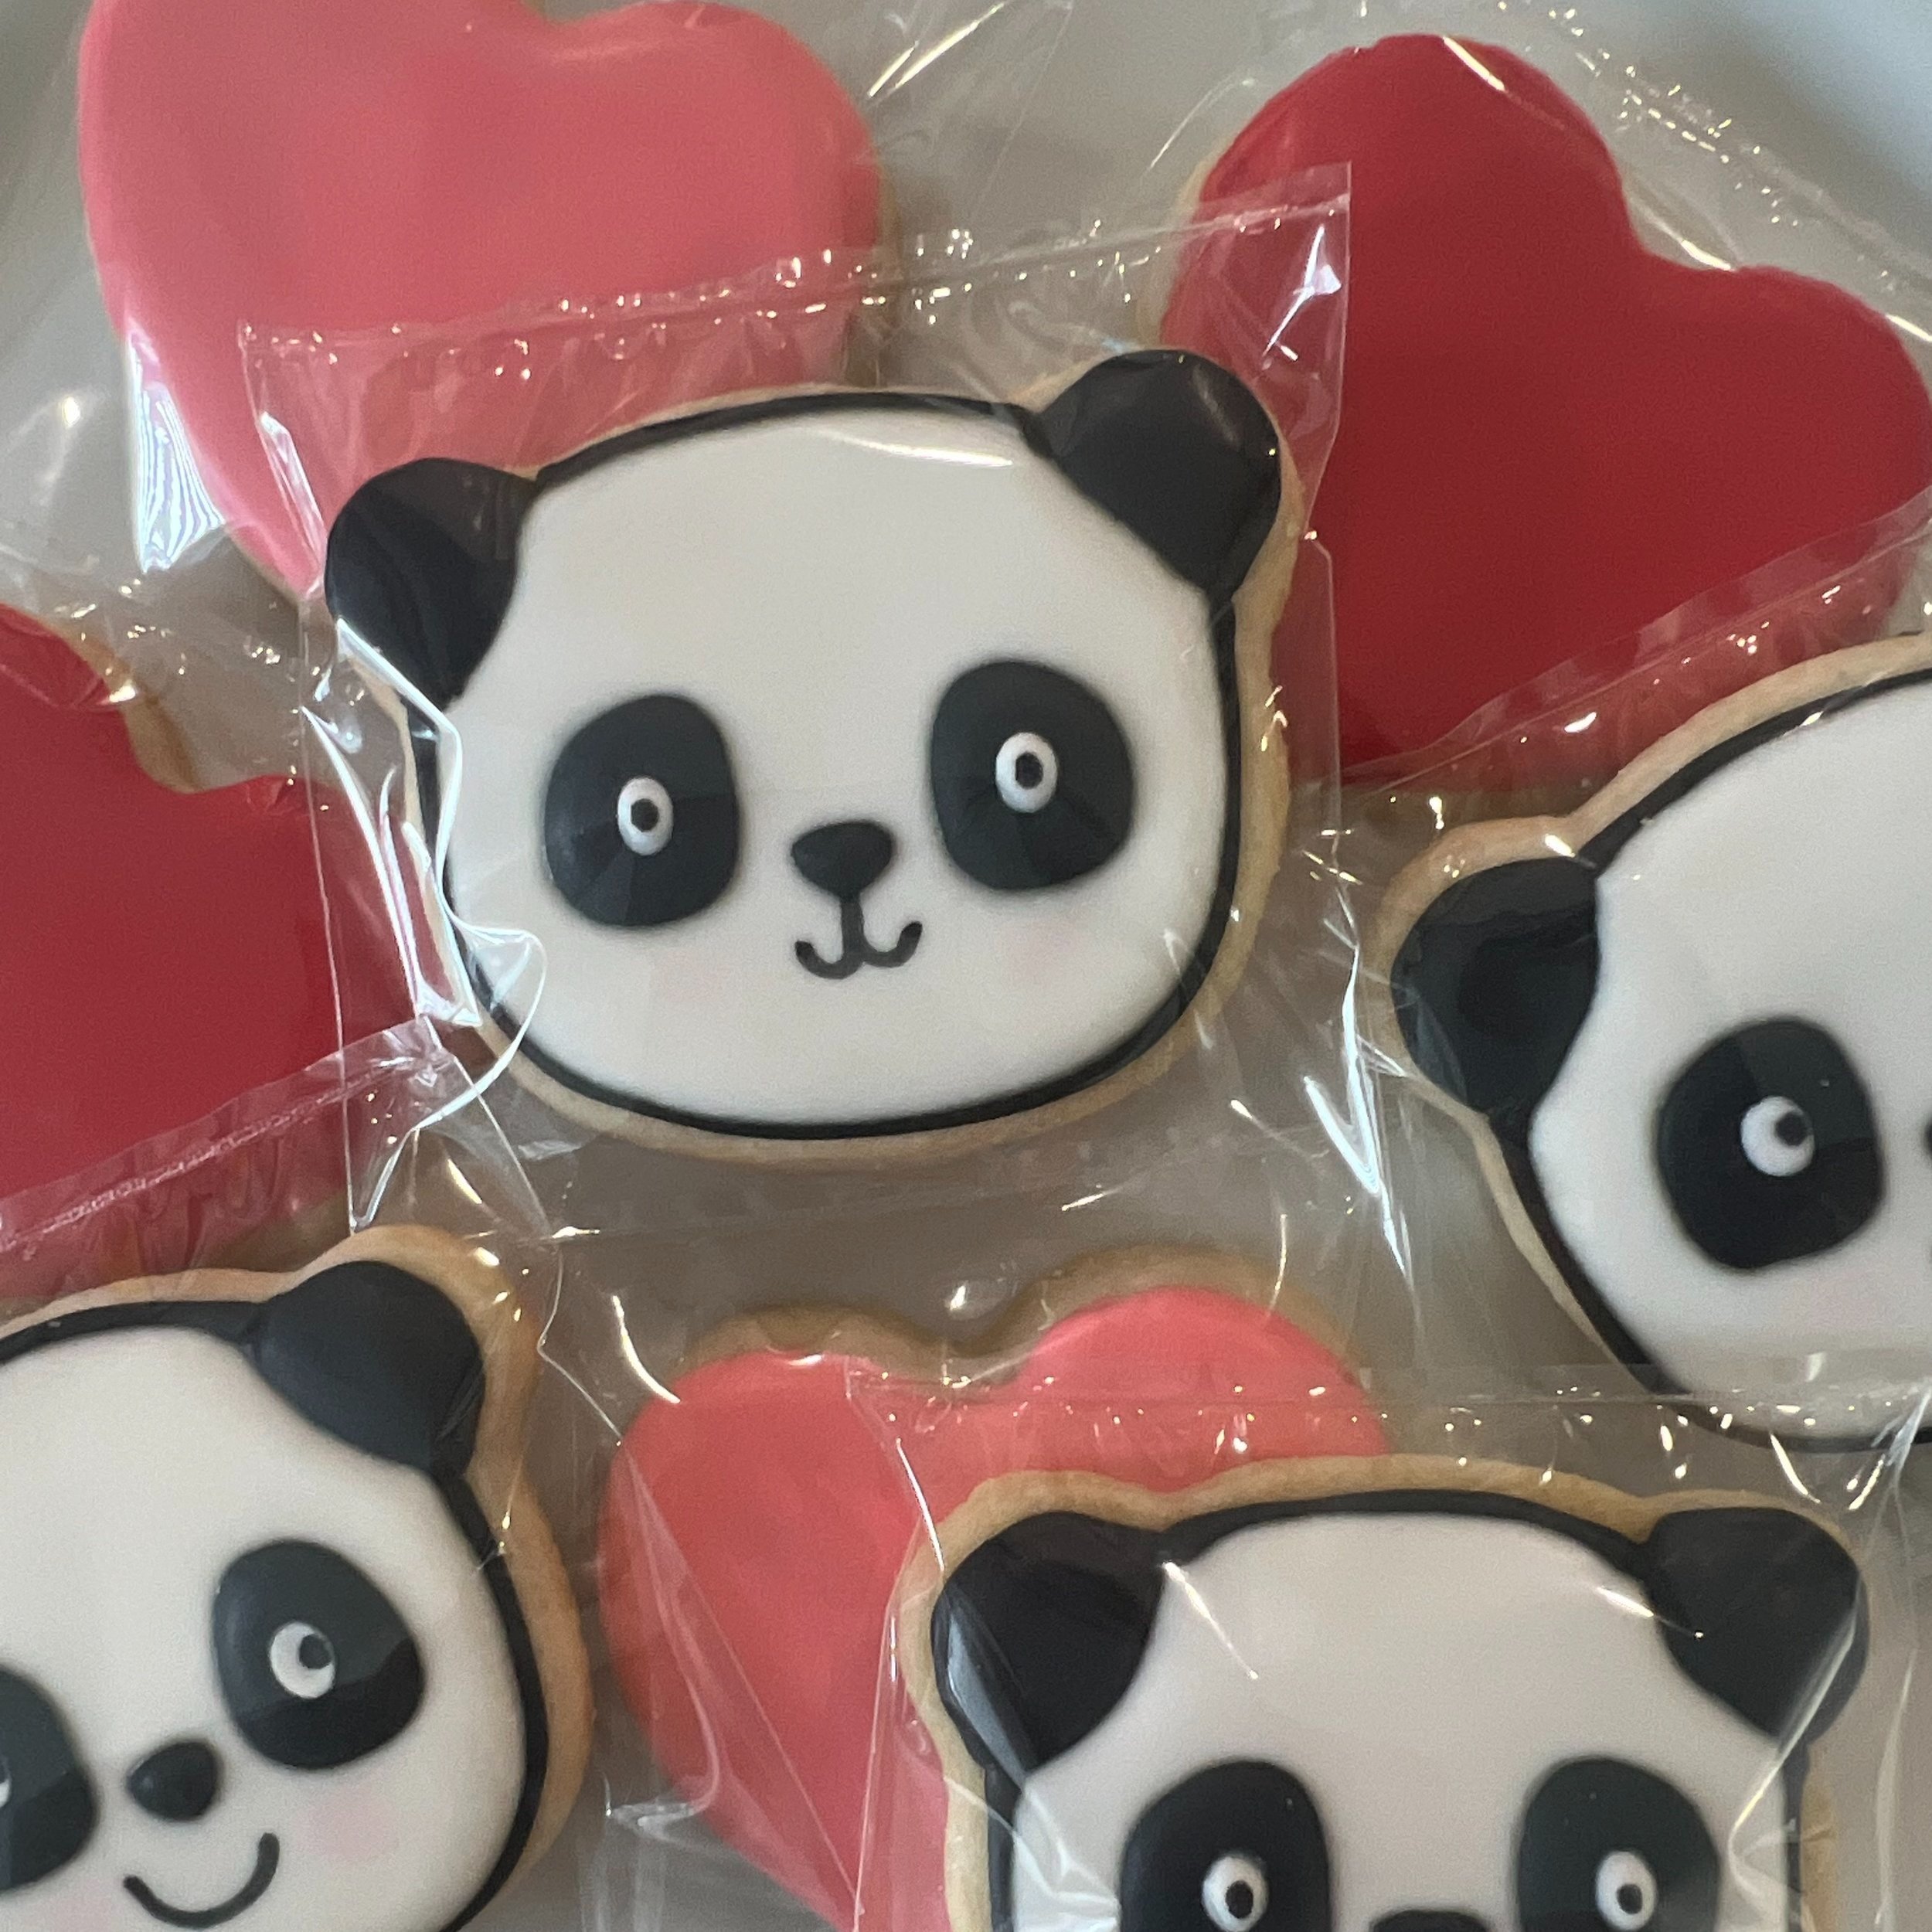
The most delightful aspect of this kit was its collaboration in a Cookie and Card class with Cindy Ontai from Zoe, Hawaii. I truly wish you could have experienced the joyous squeals of delight that filled the room when I unveiled the cookies to the class on Saturday.
I taught everyone how to make 4 cards and 4 coordinating treat boxes. The first card, irresistibly adorable as it is, remained unchanged from the kit instructions. The matching cookies were placed inside an Envelope Treat Box and elegantly secured with a belly band. Using elements from the Panda Friends Kit I created a focal point to place on top of each treat box.
Panda Card #1 Per Kit Instructions

Panda Card #2 (pictured below)
This card featured a hula panda. I created the skirt from the Heartfelt Hexagon punch. Don’t you just think she is the sweetest hula panda ever?
For this second card take the blue piece as shown on the video that measures 3” X 4-1/2” and add a mat behind it at 3-1/4” x 4-3/4” in black cardstock. Adhere these layers onto a note card.
Choose your Panda from the kit and then using a piece of Parakeet Party cardstock you’ll punch out only half of the hexagon punch as demonstrated in the video. Using scissors you’ll trim this piece to look like a hula skirt by cutting stips into the bottom to create the ‘fringes’.
You’ll use the Bee Builder Punch and the Petal Park Builder Punch for the hearts and flowers as shown.
For the coordinating box: Make a 2nd Panda look just like the one on the card and adhere her to the box front. The belly band is made from Pool Party cardstock strip and a flirty flamingo hexagon piece from the kit.

Pand Card #3
also has some punch art and a string of hearts for this curious panda who is trying to get the attention of his valentine!!
For this card you’ll start with a large card, a green ‘wavy’ die-cut, and 3 panda bears from the kit as shown in the video
I used Parakeet Party cardstock with a 1-3/4” circle punch to cut a sliver as the ‘string’ between the Panda bears paws. You could use twine or string if you prefer.
I used Poppy Parade Cardstock to punch 4 little hearts from the Bee Builder punch and added those to the bears string. Cute!
For the coordinating box: Use Flirty Flamingo cardstock for the belly band and then cut a scalloped rectangle from Parakeet Party cardstock. You’ll make a Panda Bear with heart string just like the one you made for your card to place on top of your box.

I think this last alternate Panda Card is my favorite. I flipped over one of the sentiments that was written in another language and added my own sentiment to go with the creative way I stacked the panda bears.

Take the 3-1/2 x 3-1/2” inch blue piece with bamboo that was cut earlier in the video add a black cardstock mat cut at 3-1/2” X 4”. Next stack 2 Panda Bears as shown and place on the left side of your card. You’ll use 3 hearts cut from Poppy Parade cardstock and the Bee Builder punch and adhere those as shown.
For the coordinating box: Take a polka dotted Parakeet Party piece cut with the Scalloped Contours dies and adhere it on top of the black belly band. Use a Panda from the kit and add a heart to his belly.
It made me so happy to see the joy on the faces of people who attended this class.

As a way of saying thank you to everyone I purchased some Hello Panda crackers and then placed them in a Scallop Gift Card Box with a punch art panda design on the top.

Of all the collaboration classes I’ve done with Cindy, this one ranks toward the top as an all time favorite. It made my heart feel good to see everyone having such an enjoyable time.

Although this kit works great for Valentines Day it makes adorable cards for any occasion during the year. It’s always the right time to let someone know how much they are loved.
Have a PANDA-stic day!
Cindy